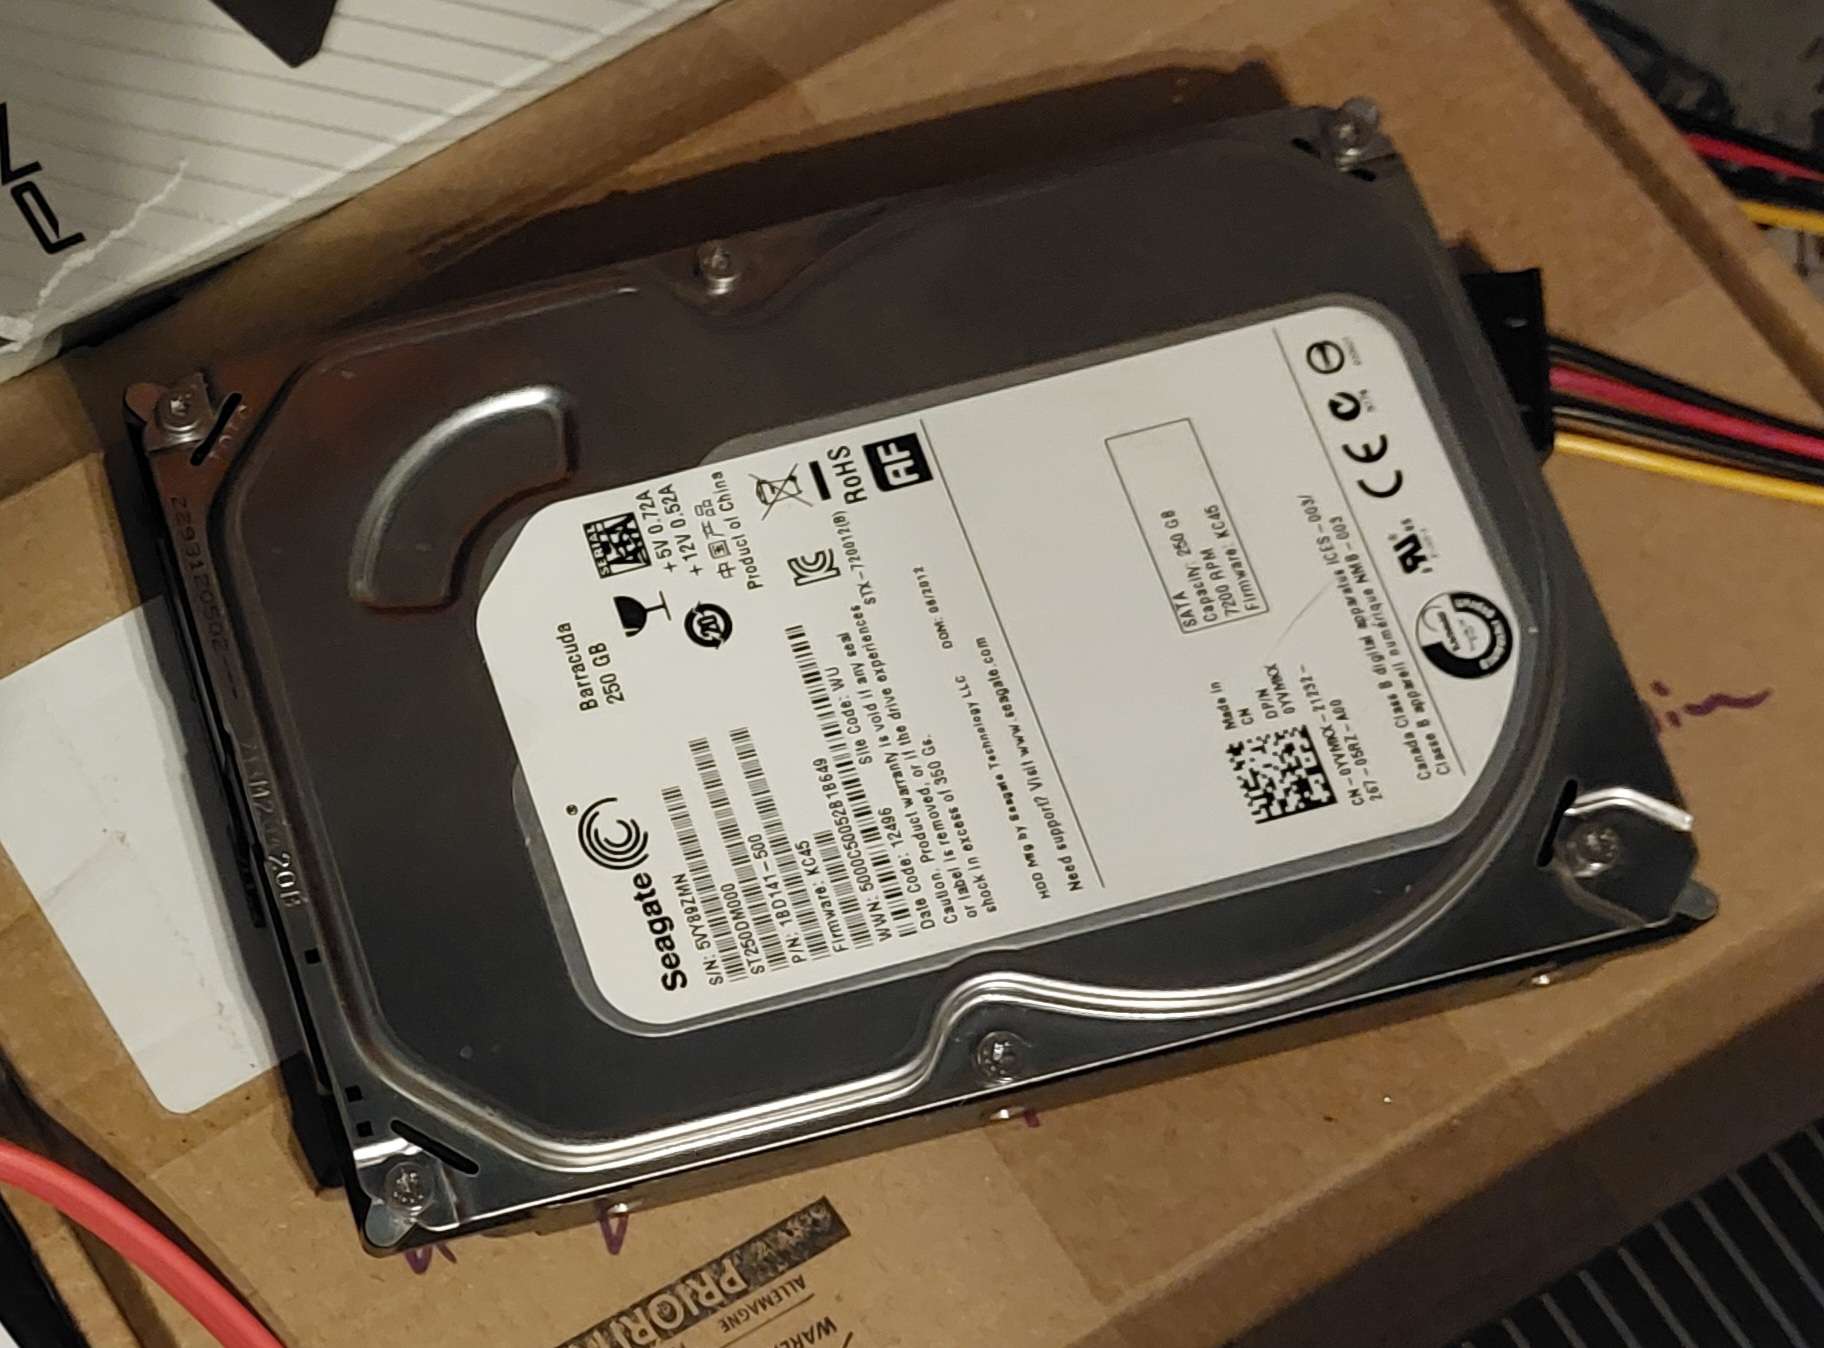
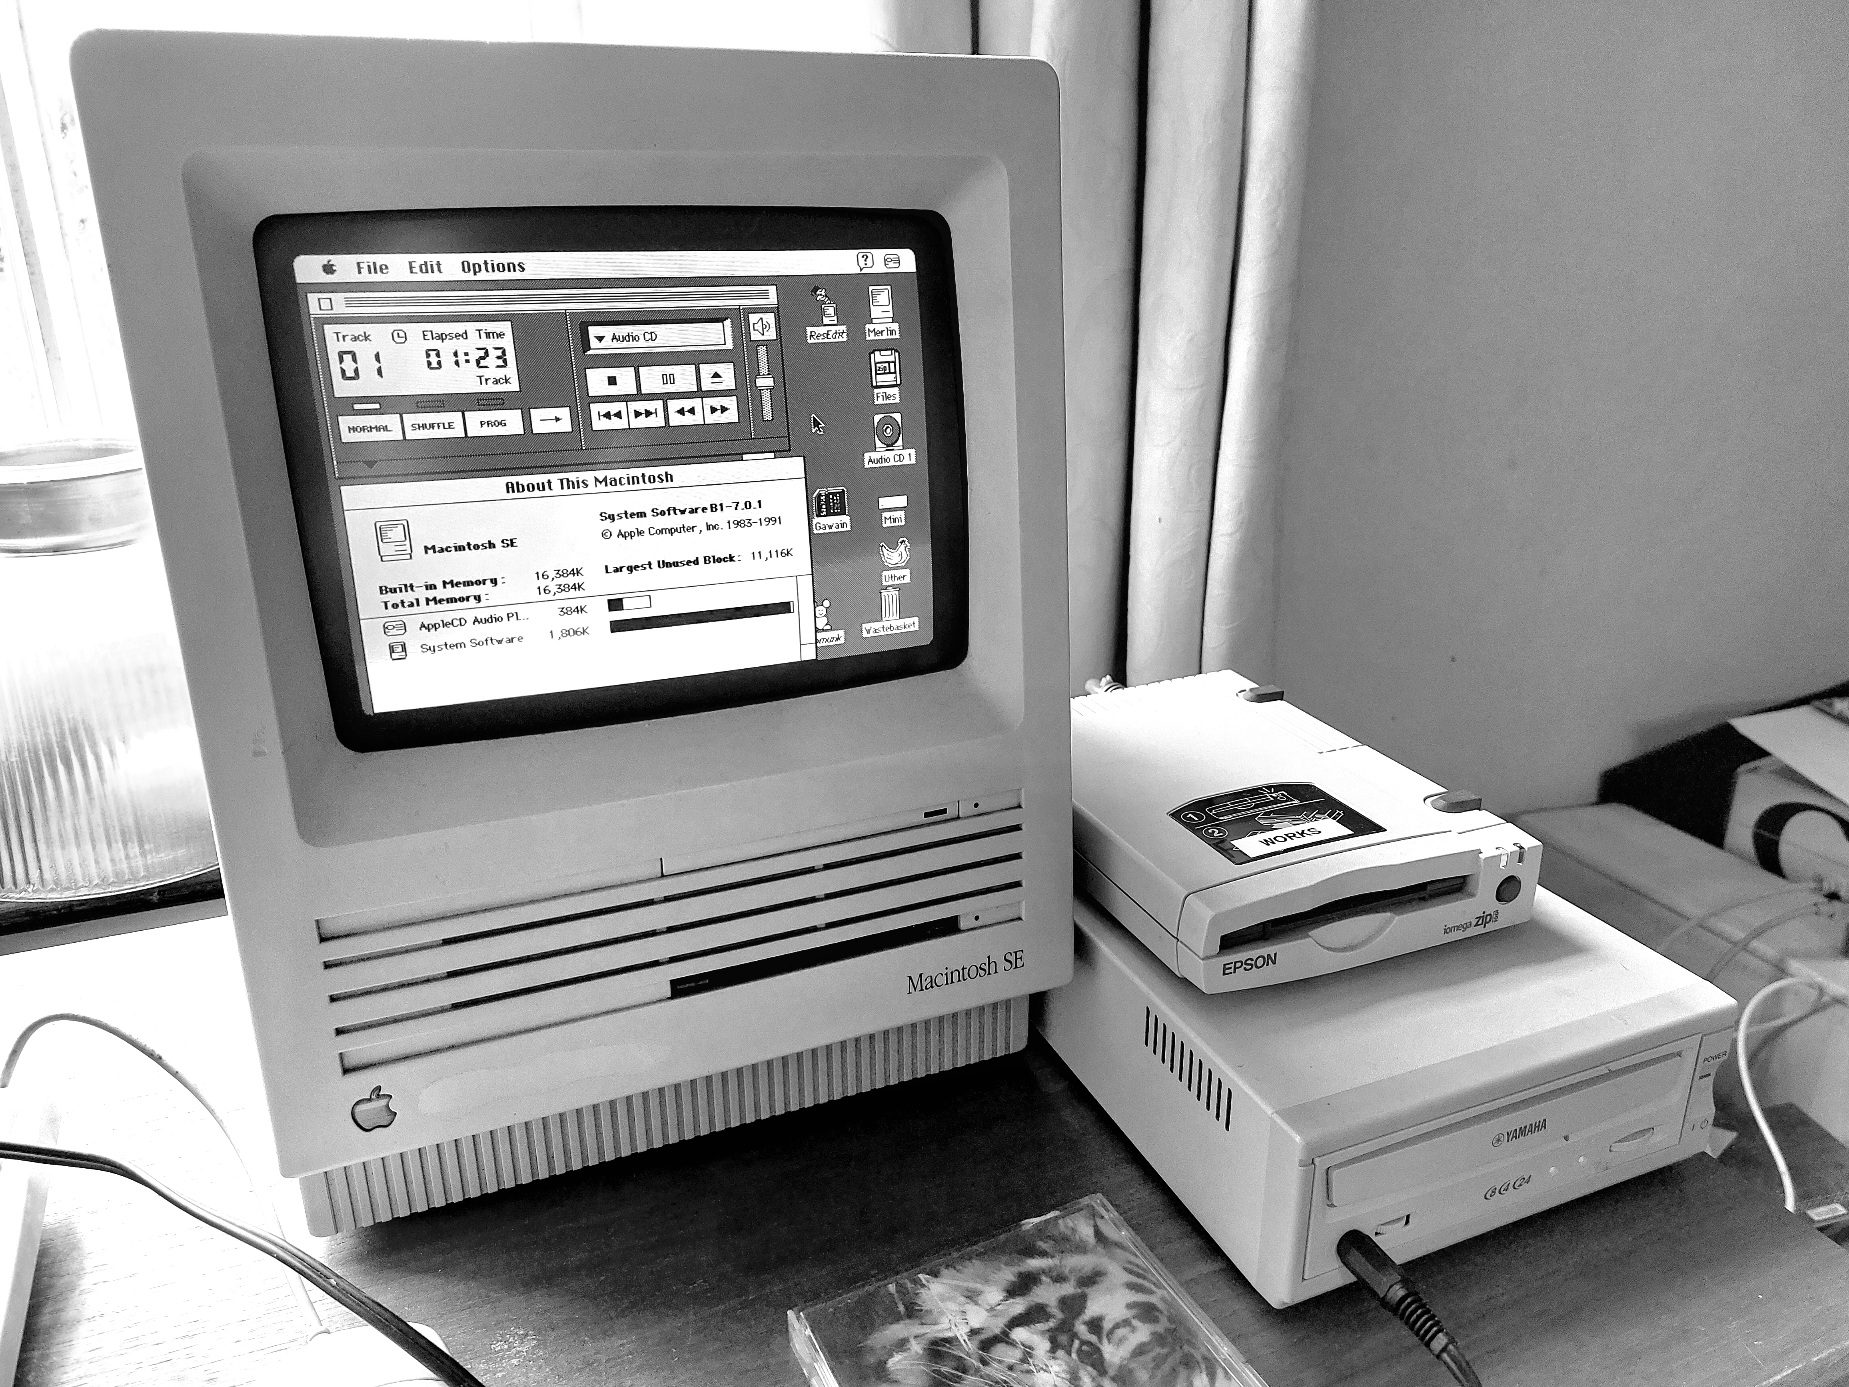
The main scenarios that have caused me issues with large hard disks in PCI era PowerPC Macs (Beige G3 through to G4 era) are…
Many IDE PowerPC Macs from the G3 to G4 era are limited to ~128GB disks.
The operating System on some early G3s needs to be in the first 8GB.
When partitioning a Terabyte scale disk in Classic Mac OS, Drive Setup fails to allow you to size partitions due to UI issues.
Lets look at each of these issue and solutions individually.
Dealing with the 128GB Limit
I believe this limitation impacts computers from the Beige G3 and original iMac through to some QuickSilver G4s. The issue is caused by the computers only supporting 28bit LBA, resulting in a 128GB limit. I usually aim for a little bit under 128GB as I believe there may be a little bit of margin needed for some reason.
The simplest solution, given disks less than 128GB are often more expensive due to so many vintage machines having the 28bit limit (not just Macs), is to get a larger disk such as a 250GB disk, and format it with a 120GB partition in a more modern computer that supports it. This has worked for me in the past, but whatever you do, do not mess with the partition table in your 28bit LBA machine.
The next easiest solution, but with a more significant cost, is to buy a PCI card that supports larger disks, such as an after market ATA card, or a SATA card. Note that most cards don’t support Macs, and even some of the ones that do, don’t support booting, only storage. A good option might be a SIL3112 based card as with the right firmware they have Classic Mac OS support (back to System 7.5) as well as some Mac OS X support.
Intech Software wrote a special hard disk driver that enabled the use of bigger disks with both Classic Mac OS and Mac OS X (10.2 and later) on the computer’s internal ATA bus. To use the driver with Classic Mac OS, format the drive using their Hard Disk SpeedTools product, but if you want to use the drive with Mac OS X, you will need to install a software driver called SpeedTools ATA Hi-Cap Driver in every OS X install. Note! There are still a number of limitations – it is likely that any computer that suffers from needing bootable OSes in the first 8GB will still need that, so create any bootable partitions you need within the first 8GB. On later machines using this disk driver to use larger disks, they will not be able to boot from beyond 128GB on the built in interface, so ensure that you put a partition divider around 120GB and only use partitions beyond 120GB for storage, and not bootable OSes. There are extensive warnings and guidance in the manuals for this software.
Please note that I’m not overly familiar with the limitations on older Performa 630 -> 6500 family IDE implementations. I have attempted to put a 120GB disk in a 630 but had odd, intermittent write errors. This is an ongoing project and I hope to find out what can and can’t be done with that family of machines.
Keeping the OS Within the First 8GB
Historic understanding of this is that the OS must be within the first 8GB of the hard disk on the Beige G3 and early iMacs, although this has been disputed at times. My personal experience of this is that I’ve had issues over time when I failed to partition a 40GB disk in a 233MHz beige G3 (with a Rev A ROM), but given this was back in something around 2003, I don’t have extensive notes! My thoughts are that more investigation is required with different hardware and ROM revisions to understand what is going on, but in the meanwhile, to be safe…
Partition your disk. I usually create a couple of small partitions and then a larger partition, using the larger if I want to run an early version of OSX. For example, I might create a 2GB partition and a 6GB partition for a Classic Mac OS install and a Mac OS X install. Alternatively, I might create two 1GB partitions, a 2GB and a 4GB if I’m experimenting with lots of OSes. I then usually create a single large partition with the remainder of the disk (assuming it is less than 128GB – see above) for applications and storage.
Use a PCI SATA or ATA card. Many cards make drives appear as SCSI drives meaning that the host’s ROM doesn’t use the code that prevents booting beyond 8GB (the bug is in the ATA code, and doesn’t apply to SCSI disks).
Using a helper partition – given the issue only exists very early in boot, it is possible to use a small helper partition and the software XPostFacto. XPostFacto is able to put a small number of files on a bootable partition, that then hooks into a larger OSX (I don’t think it supports OS9? I’m not sure, please correct me) installation on a large, unbootable partition. This trick can also be used to boot from FireWire drives on machines that don’t support booting from FireWire. Theoretically you could create 10 small partitions within the first 8GB of the hard disk and use each as a helper partition to boot huge partitions later into the disk.
Partitioning Multi-Terabyte Disks Under Classic Mac OS
Note – I believe that you are limited to 2TB disks in Classic Mac OS, but have not personally tested exceeding this limit.
When I installed a 1.5TB disk in my 9600 I found that I was able to format and use the disk using Apple’s Drive Setup, but that if I tried to partition the disk, I could not type in custom partition sizes (my usual trick with a big disk is to use the tab key to cycle through partitions that are visually too small to click on in Drive Setup). After some experimentation with various software, I found that I was able to easily set up partitions, once again using Hard Disk SpeedTools. As such, this is my recommendation for setting up a very large disk (I assume SATA) in a classic Mac OS system.
So you’re thinking of buying a vintage Apple Macintosh Computer? Perhaps for the nostalgia, or maybe to find out what computing was like in the early, Wild West days?
This post is intended to help you decide what to get that meets your needs, but also as a warning. Buying an old Mac is like buying a vintage car – they are not maintenance-free and can be hard work and/or expensive, depending on whether you do the work yourself or pay an expert. Within the context of this post, a vintage Mac is considered to be anything that runs the pre-Mac OS X “Classic” Mac OS – i.e. System 1 through to Mac OS 9.2.2. This said, the post will not look further back than the Macintosh Plus as, due to their rarity, the original Macintosh (aka 128k) and the 512k and immediate derivatives are pretty specialist, as is the Macintosh XL.
I’ve split my original post into three parts as it was getting too long. The following Topics list covers the three parts, although Part 2 and Part 3 are currently still in draft form and not published.
Retrospectively – I’ve never posted parts two and three as this post just caused people to argue with me, something I didn’t expect or particularly enjoy.The same is true of the interactive database / buyer’s guide I was writing.
Topics
Part 1 – Introduction
Project Type
No work, just play
Maintainer – DIY (Got Skills / Learn Skills)
Restorer – DIY (Got Skills / Learn Skills)
What to Look For in Your First Vintage Purchase
What to Avoid in Your First Vintage Purchase
Mandatory Extras
Extras that are Nice to Have
Where to get Support
Part 2 – Common Issues – Cancelled
Capacitors
Batteries
Analogue boards and PSUs
Missing peripherals
Replacing hard disks
Bad floppy drives
CD-ROM Drives
Making boot disks
Moving data from modern computers
Part 3 – Vintage Mac Top Trumps – Cancelled
68k Compact Macs
Other 68k Macs
Beige PowerPC Macs
The Vibrant Era
PowerBooks and iBooks
Project Type
It is important to ask yourself before you buy your vintage Mac – what experience are you looking to get? I feel that there are broadly three main groups of people.
No work, just play – Those that just want to get the retro experience, as close to as it felt back in the day. That want to experiment with software or use the machine for distraction free productivity and not need to get their hands dirty. Those that want to buy something that Just Works.
Maintainer – This second group anticipate that a 30 or 40 year old computer will likely need some maintenance and either have electronics experience, or are interested in learning such skills. They would like to play with their purchase when it arrives, perhaps make some upgrades and are willing to do some soldering when needed.
Restorer – The third group are looking for a challenge. Willing to buy a non-working machine without having seen inside, and wont be disappointed whatever the condition of the insides when it arrived. The journey makes the experience, not the destination. I anticipate this group either have significant technical skills already, or are going to try their very hardest to learn them. Not shy of putting the hours in, or paying for some parts.
Group 1 – No work, just play
Users in this group must buy the right machine, in terms of model and condition to increase the chance that they will get a good period of use without critical failing parts. Alternatively, they must be prepared to spend a fair amount of additional money (possibly even as much as the computer cost) getting the machine restored as soon as it is acquired. Care must be taken as many eBay sellers list items as “refurbished” when what they actually mean is “cleaned”, which is absolutely not good enough in this scenario. Buying a vintage Macintosh in a condition that enables it to operate for many hours of use without intervention will likely cost a premium. Capacitor condition is primarily a concern for Macs from about 1988 to 1994 (at time of writing in 2024 – the end date is likely to move forward with time), but issues are not impossible outside of this time range.
When choosing a machine to buy the computer should…
Be of a type that is low maintenance (there aren’t many – see “Vintage Mac Top Trumps”).
Have a recapped logic board, or the logic board was fitted from factory with capacitors which do not leak.
Not have evidence of damage due to a battery leak.
Ideally, have a recapped power supply (PSU) and analogue board if applicable (“Compact” and AIO (All-In-One) Macs – models with a built in display usually have an analogue board).
Be guaranteed to be working on delivery – run a hardware test the day the machine arrives to test as many circuits as possible.
If possible, be available for local collection. The postage system destroys brittle plastics and CRTs and this gives an opportunity to meet the seller, and test before you buy.
Come with all the peripherals you need. On their own, items such as keyboards and mice can be surprisingly expensive, especially for the Macintosh Plus, or you want a more desirable keyboard. If you are buying a Macintosh with ADB ports, make sure the keyboard and mouse you are getting are ADB. Even though the connectors look similar, PS/2 and serial keyboards and mice are (almost) never appropriate for Macs that use ADB.
If you’re buying a computer that doesn’t have a built in monitor, don’t get hung up on CRTs, they’re unreliable, big, heavy, easily break during shipping and are surprisingly expensive. Instead, if buying a Mac that is older than approximately 1999 (at which point Macs changed to VGA and later DVI and ADC monitor connectors) invest in an adapter that converts from the (non-standard) vintage Apple video port to VGA. It is generally best to buy one that has ten dip switches as these provide the most universal compatibility. It is usually possible to use your vintage mac with an LCD from the early 2000s, although some have better compatibility than others with 1980s Macs. You can often get an old LCD for free by asking your company IT department very nicely, or asking your family and friends (“has anyone got an old LCD they don’t want” type Facebook post for example). The ideal LCDs have a 4:3 aspect ratio, and a resolution of 1024×768.
If buying from abroad, make sure you consider voltages before plugging your vintage Mac into a power outlet. Is this machine dual voltage? Is it set for the right voltage?
Things to ask the seller :
Get a high resolution photo of the logic board, share it on the 68kmla forum and ask the forum has it been well re-capped (if applicable), and is it in good condition.
What new parts were fitted during refurbishment? What repairs were needed? What type of capacitors were used?
Have they removed / replaced the original battery?
If you are planning to use floppy disks on a 68k era machine, have they serviced the floppy drive / drives? Does it boot from a floppy disk? On newer, PowerPC era machines, you shouldn’t be using floppy disks as they’re small and unreliable.
What tests have they run to verify functionality? It is recommended that tests are run using Snooper, TechTool Pro or Mac Test Pro (MTP).
How do they plan on protecting the computer during shipping (if applicable)?
Things to consider moving forward :
These machines are decades old, it is very likely they will have a failure, even quite soon after you purchase them, especially if you use them a lot. Almost nothing is irreparable and it most likely isn’t the sellers fault.
If you don’t plan on doing board level repairs yourself, you will need to budget to pay for repairs.
If you use the original style of 1/2 AA battery, or another battery that might leak, never leave a flat battery in the computer, and ideally replace batteries at least every 10 years regardless of condition. Many users run their vintage macs without a battery to avoid the risk, although this can be frustrating as the computer will forget a number of settings including the date and time, mouse speed and network settings every time you shut down.
Firms that specialise in repairing vintage Macs are few and far between, especially outside of the USA. Individuals with the skills are often reluctant to repair boards belonging to others because a single bad experience can be very painful when people are emotionally involved.
Don’t leave a vintage machine on for long periods unattended.
Backup everything onto a modern computer and make multiple copies. Don’t rely on vintage spinning hard disks, they will fail, and probably fairly soon. Buy an SD card or CompactFlash hard disk replacement adapter if your computer doesn’t come with one already. It needs to be SCSI compatible for most vintage macs. Ask for advice on the 68kmla forums.
How do you plan on moving files to your vintage Macintosh? It is often non-trivial and usually requires special hardware as well as understanding of file formats. A machine with an Ethernet port can be a wise choice, but the initial setup is often challenging.
It might be worth learning to do basic repairs yourself as this will save you money in the long run.
Things to ask yourself :
Are you really sure you want to get into this?
Have I experimented with an emulator to see if this is what I really want?
If you chose to buy a 68k Macintosh that has not been fully overhauled and has SMD electrolytic capacitors (they look like little tin cans), and it is a machine that suffers from capacitor failure (for example the very popular SE/30), you must, at the very least, replace any SMD electrolytics. This type of capacitor is universally failing in this age of computer, and leaking a corrosive liquid onto the logic boards of all Macintosh computers they were fitted to, at this point in time, up to about 1994 (today is 2024). The failing capacitors are not always immediately obvious when you look, but the damage they cause is expensive and difficult to repair. It is best to pre-emptively replace the capacitors before the computer actually fails. It will need doing at some point anyway, and not having to do trouble shooting and trace or chip repairs will save you a lot of time, effort and money.
Consider re-capping one of these age of computers to be like changing the oil in your car – you wouldn’t drive it until the engine failed and then replace the engine, that would be expensive. These components were not rated for 30 to 40 years of use, but it is not the fact that they are life expired that is the main issue, it is that the failure mode causes significant collateral damage.
Group 2 – Maintain
An individual in this group should expect to own a soldering iron and be comfortable dismantling equipment that was often designed to be slightly difficult to dismantle. They may not already have the skills required, but be willing to learn some skills as they go.
Be aware – we all lift the occasional pad. These boards are old and damaged by electrolyte, don’t worry about it, just repair it and keep going. While people online give the impression that they never make mistakes, it isn’t the reality, its just that people tend to feel sheepish about such things when they happen and… sometimes don’t mention it.
Make sure you buy a machine that is shown to be working and run hardware test software such as Mac Test Pro as soon as you get your hands on the machine. You should not buy without having seen detailed photos of the logic board (especially the sound circuit area which usually has a cluster of capacitors if you’re buying a 68k Mac with “tin can” electrolytics, and of the battery area on any vintage Mac). Don’t buy a machine if the battery looks like it has leaked, or if there is dark staining in the dust around groups of “tin can” electrolytic capacitors. Especially if there is any green on component legs, but even if there is a significant grey buildup that blurs the distinction between chip pins. A machine with these symptoms may need more than casual work.
If your purchase is a 68k mac, you should start working out what you need to do to recap the logic board if it has “tin can” SMD electrolytic capacitors as soon as possible. I recommended that you recap the logic board within the first week if at all possible. Analogue boards and power supplies are less critical in that they don’t usually cause collateral damage (IIsi aside which has a self destructing power supply – I’d actually recommend not buying a IIsi unless you know what you’re letting yourself in for), so I suggest only recapping these based on condition – i.e. if they stop working or the voltage is way off etc.
Generally avoid the… LC, IIsi and Classic… as these are often in the worst condition of any macs. The SE/30 is also often in bad condition, but as these are a more desirable machine, it might be worth the struggle!
Tools it is worth having include… a 50W or higher soldering iron (higher for early Mac II family machines, or if you plan on removing ports. A pair of needle nose pliers for removing capacitors (brutal, but the “twist method” does seem to cause the least amount of damage to boards, counter-intuitively). Pre-fluxed solder wick. No clean flux. Either a fibreglass abrasive pen… or if you’re cheap like me, a little bit of broken PCB for removing the solder mask when doing trace repairs. A scalpel for cutting thin wire and gently prodding pins that you suspect might have come free from their pad. Some very fine enamel wire, with a “solder through” insulating coating.
Other things that may require maintenance are…
Clean and re-lubricate the floppy drive
Clean the CD drive laser
Recap the CD drive
Clean the mouse ball and rollers
Backup the hard disk before it fails
Group 3 – Restore
An individual in this group either has extensive repair experience, or is appropriately determined to take on many hours of challenges, setbacks, skill development and occasionally sheepishly buying a replacement part.
I recommend that if finances allow, try to get a working machine as this minimises (but doesn’t eradicate) the need for repairs. I consider a machine that can show the flashing question mark to be “effectively working” because disk failures are a matter of course.
Beware of logic boards that have been cleaned – if a board looks spotless, be suspicious, unless it has a very good reason to be so (reproduction, or a New Old Stock board that was stored very, very well). Try not to hand over two much cash without seeing the logic board first, especially the battery holder location. Battery damage from a leaking battery tends to be severe, but localised to where the gunk spread. Don’t buy a machine where the battery gunk has spread over a custom chip (usually branded “VLSI”) as you pretty much have to buy another board to get a replacement, even if you’re comfortable desoldering and soldering QFP parts.
Be on the lookout for, and do not buy, machines that are a collection of bad parts. Some sellers have been assembling a tidy machine from multiple ones for themselves, and will have put all the worst parts in one box. This type of purchase is a nightmare to work on because compound problems mask each other. Additionally, they are often extremely expensive in parts to repair (more expensive than buying a better machine). The exception to this is if you know and trust the individual.
Generally I’m also reluctant to buy machines photographed on a professional electronics repair workbench that are listed as not working, or worse, “untested”. Remember, the best “not working” purchases are from people that haven’t already been through it checking for an easy fix, and taken out all the cards, swapped in a bad power supply, a bad floppy drive, kept the hard disk and put their most yellowed lid on it. A computer listed as “untested” clearly sat in on an electronics test/repair bench is pretty suspect.
With respect to capacitor electrolyte damage, pay attention to the area around the sound circuit (there is usually a cluster of aluminium SMD “tin can” capacitors in this area). Look closely, no, closer, almost, now a little closer. Now get a light and a eye loupe and look closer again. You can never fully see any damage in photographs, it is even hard to see in real life, especially as sometimes it hides under other components. I feel that many people don’t know what they’re looking for and a large number of people claim “no corrosion” when there is clearly visible capacitor related corrosion on a board. Corrosion is often just minor discolouration and not “rust” or green fuzz.
The fastest way to identify leaking capacitors is to look at the solder pads that peek out from under the aluminium “tin cans” of the SMD electrolytic capacitors (if fitted) and legs of chips that are near the same capacitors. While it is rare and almost impossible to find a 68k mac fitted with SMD electrolytic capacitors which has absolutely no corrosion at all, it is worth considering how far along the following scale from fresh (shiny) to pins about to fall off (black or green).
Shiny – Dull Grey – Dark Grey – Green Furry and/or Black
Generally, green furry and black are a bad sign and a significant amount of repair work will likely be needed. Dull grey is the norm these days. It is common to need to make at least one trace repair on most 68k macs fitted with the “tin can” style electrolytics.
Whether it is working or not, if you buy a 68k Mac with “tin can” electrolytic capacitors, it is strongly (extremely strongly, I’d force you if I could) recommended that you recap the logic board within the first week. Analogue boards and power supplies are generally less critical so I suggest only recapping these based on condition – i.e. if they stop working or the voltage is way off etc.
My main advice is don’t overpay for a broken machine no matter what your skills are. If the seller doesn’t show inside a machine that is trivial to open (especially when you can see they haven’t even bothered to put the lid back on properly in one of the photos), assume the worst. If the seller says “untested” it usually means “turned it on and it didn’t work”. If they say it “turned on” it means that the fan started, but doesn’t mean it chimed.
Generally it is good to know what you’re getting into, so buying a machine from another hobbyist can be a good move. Frequent faces on forums tend to be much more honest about what is wrong with a machine they are selling, for example “It wont power on, but I tried it with another PSU and it chimed, so while I’m not promising the logic board is perfect (it needs recapping!), the fundamental issue is the PSU. I’ve included a spare logic board for parts, the floppy drive is missing and you’ll need a keyboard and mouse”… instead of “Vintage RARE mcintosh, signed by Steve Jobs?! Untested. I know what I got. $2000”, to paraphrase Facebook Marketplace.
What to Look For in Your First Vintage Purchase
Does it work?
Is it affordable?
How much more will I likely need to spend after the fact? (Now double it).
Does it need to be, and has it been recapped, and to what extent?
Does it have the required stock parts like the ROM if applicable, or for example, a card of some description in the PDS slot in the case of the PM 7100 and 8100.
Does it have all the required peripherals? (keyboard, mouse, hard disk).
Are the peripherals the correct ones for the computer?
Does it run a version of the software you are interested in?
Are they available in your local area? Collection saves money and reduces shipping risk.
Does it have enough RAM for your purposes? Some types of RAM can be quite expensive.
Does it already have an SD card adapter or Ethernet card that might save you money in the future?
It should be remembered that while most people looking to get into the hobby dream of having a compact mac with a 9″ black and white screen, these are often the least flexible of vintage macs, and some, like the SE/30 and Classics are difficult to maintain, expensive to upgrade and are restrictive with respect to what software they can run. To counter this, machines from 1995 onwards are massively more powerful, more expandable, and are easier to transfer files to, but will still run almost any software from about 1987 onwards. At the same time, these later machines often cost significantly less – at the moment, G4 era machines (2000 to about 2004) sell at very low prices in the UK and are sometimes even given away.
What to Avoid in Your First Vintage Purchase
Spending too much on junk that doesn’t work. Many sellers don’t consider whether their machine works or not, so the difference in price between a working machine and a broken machine is significantly less than the cost to repair the broken machine.
CRT Monitors. They actually get in the way of enjoying the hobby!
For your first purchase, I’d recommend avoiding the popular SE/30, Classic, Classic II, LC and LC II. These are often perceived as desirable for this situation, but they’re actually quite difficult or expensive to keep running.
Shipping long distance with courier firms that have a bad reputation for how they treat packages. Your computer should be packed to withstand an 2.5 metre (~8′) drop… upside down.
Don’t go wild with how much RAM you install. 68k Macs perform a memory test on power on, and this can take a long time if you max out the RAM on some machines. Apple designed some of their computers to take absolutely crazy amounts of RAM. The IIci which shipped in 1MB or 4MB configurations, can take up to 128MB of RAM. If you fit this much RAM in a IIci, it will take approximately 2 full minutes to perform the memory test, during which time the computer will sit with a blank screen and you might be mistaken into thinking that it isn’t working. Additionally, there are complex rules about how memory is fitted that change machine to machine. Some can take individual DIMMs, so have to be upgraded in pairs, and some in groups of four. Additionally, which slots can be left empty and which filled first can be critical. Read the manual on RAM upgrades.
Mandatory Extras
Assuming you already have the Macintosh computer, keyboard, mouse, required cables and a compatible monitor you intend to use, the following subsections cover things that you will require to get use out of your vintage computer.
Transferring Files
You will need a method to move files from modern computers to your vintage Mac. Even if you have Ethernet, you might need to get software onto the Mac in the first instance, to use Ethernet on a modern network. Tools which you might find useful include…
A SCSI / SD Card adapter such as the GBSCSI2, MacSD, SCSI2SD, RaSCSI, ZuluSCSI, etc.
If your Mac has an external floppy port, you might consider a FloppyEMU from BMOW.
The AirTalk can be used to network a vintage Mac to an emulated mac.
If you have a SCSI CD-ROM drive, and a modern CD writer, you may be able to write CDs of software you need.
It is possible to write 1.44MB Mac formatted floppy disks from PCs and newer macs, it is very difficult to write 800k floppy disks from a modern machine. 800k floppy drives were used in the Mac II, some Mac IIx and SE machines, and the Mac Plus.
You do not need all of the following, but at least one, appropriate for your specific needs, is going to be necessity.
From the Power Macintosh 7200 onwards, Macs targeting professionals included a modern style 10baseT ethernet port. This was not true of most similar era consumer macs such as the 6500. From the G3 era onwards, most if not all Macs have an ethernet port.
While some G3s and G4s support wireless networking, the Classic Mac OS does not support modern WiFi security protocols (even WPA2, the minimum requirement for most modern networks) and so can not be trivially used on a modern network. Do not turn off your wireless security for the sake of convenience – you never know who might connect and what they might do using your internet. You do not want to end up in court defending yourself just because you turned off security to move a game and someone did something… extremely nasty… over your internet.
Connecting to a Monitor
If your vintage Mac doesn’t have a built in screen, you will likely need to connect to a monitor. While some people enjoy the retro experience CRT monitors bring, I personally don’t, because their inconveniences get in the way of enjoyment. I would recommend avoiding them unless you really, really want one. If you are concerned about appearance, there were early LCDs made in appropriately coloured plastics which look really nice with a vintage mac.
However, if you are planning to connect your Macintosh to a VGA monitor, you need to be aware that almost all beige Macs with video out do not use the VGA standard connector (the first Macs with external video pre-date VGA, so it pretty lucky that adapting to it is as easy as it is). To connect a VGA monitor you will need a special Mac video port (15 pin DSub) to VGA adapter (15 pin HD DSub). The best ones to get are the ones with ten dip switches, as they are compatible with the most machines. The adapters with no switches at all tend to work well with Macs built post circa 1993, but often don’t work with older macs.
Macintosh Video to VGA Ten Dip Switch Adapter
Extras that are Nice to Have
Additional items which might be worth additionally buying, or might sweeten the deal if provided with a purchase might include…
Useful spare parts such as a PSU, CD-ROM drive or logic board.
External drives such as a CD-ROM drive, CD Writer, Zip, Jaz or MO drive.
Processor Upgrades or L2 cache cards.
A comfortable amount of RAM.
Original software on disk.
Original Manuals for the computer, peripherals and software.