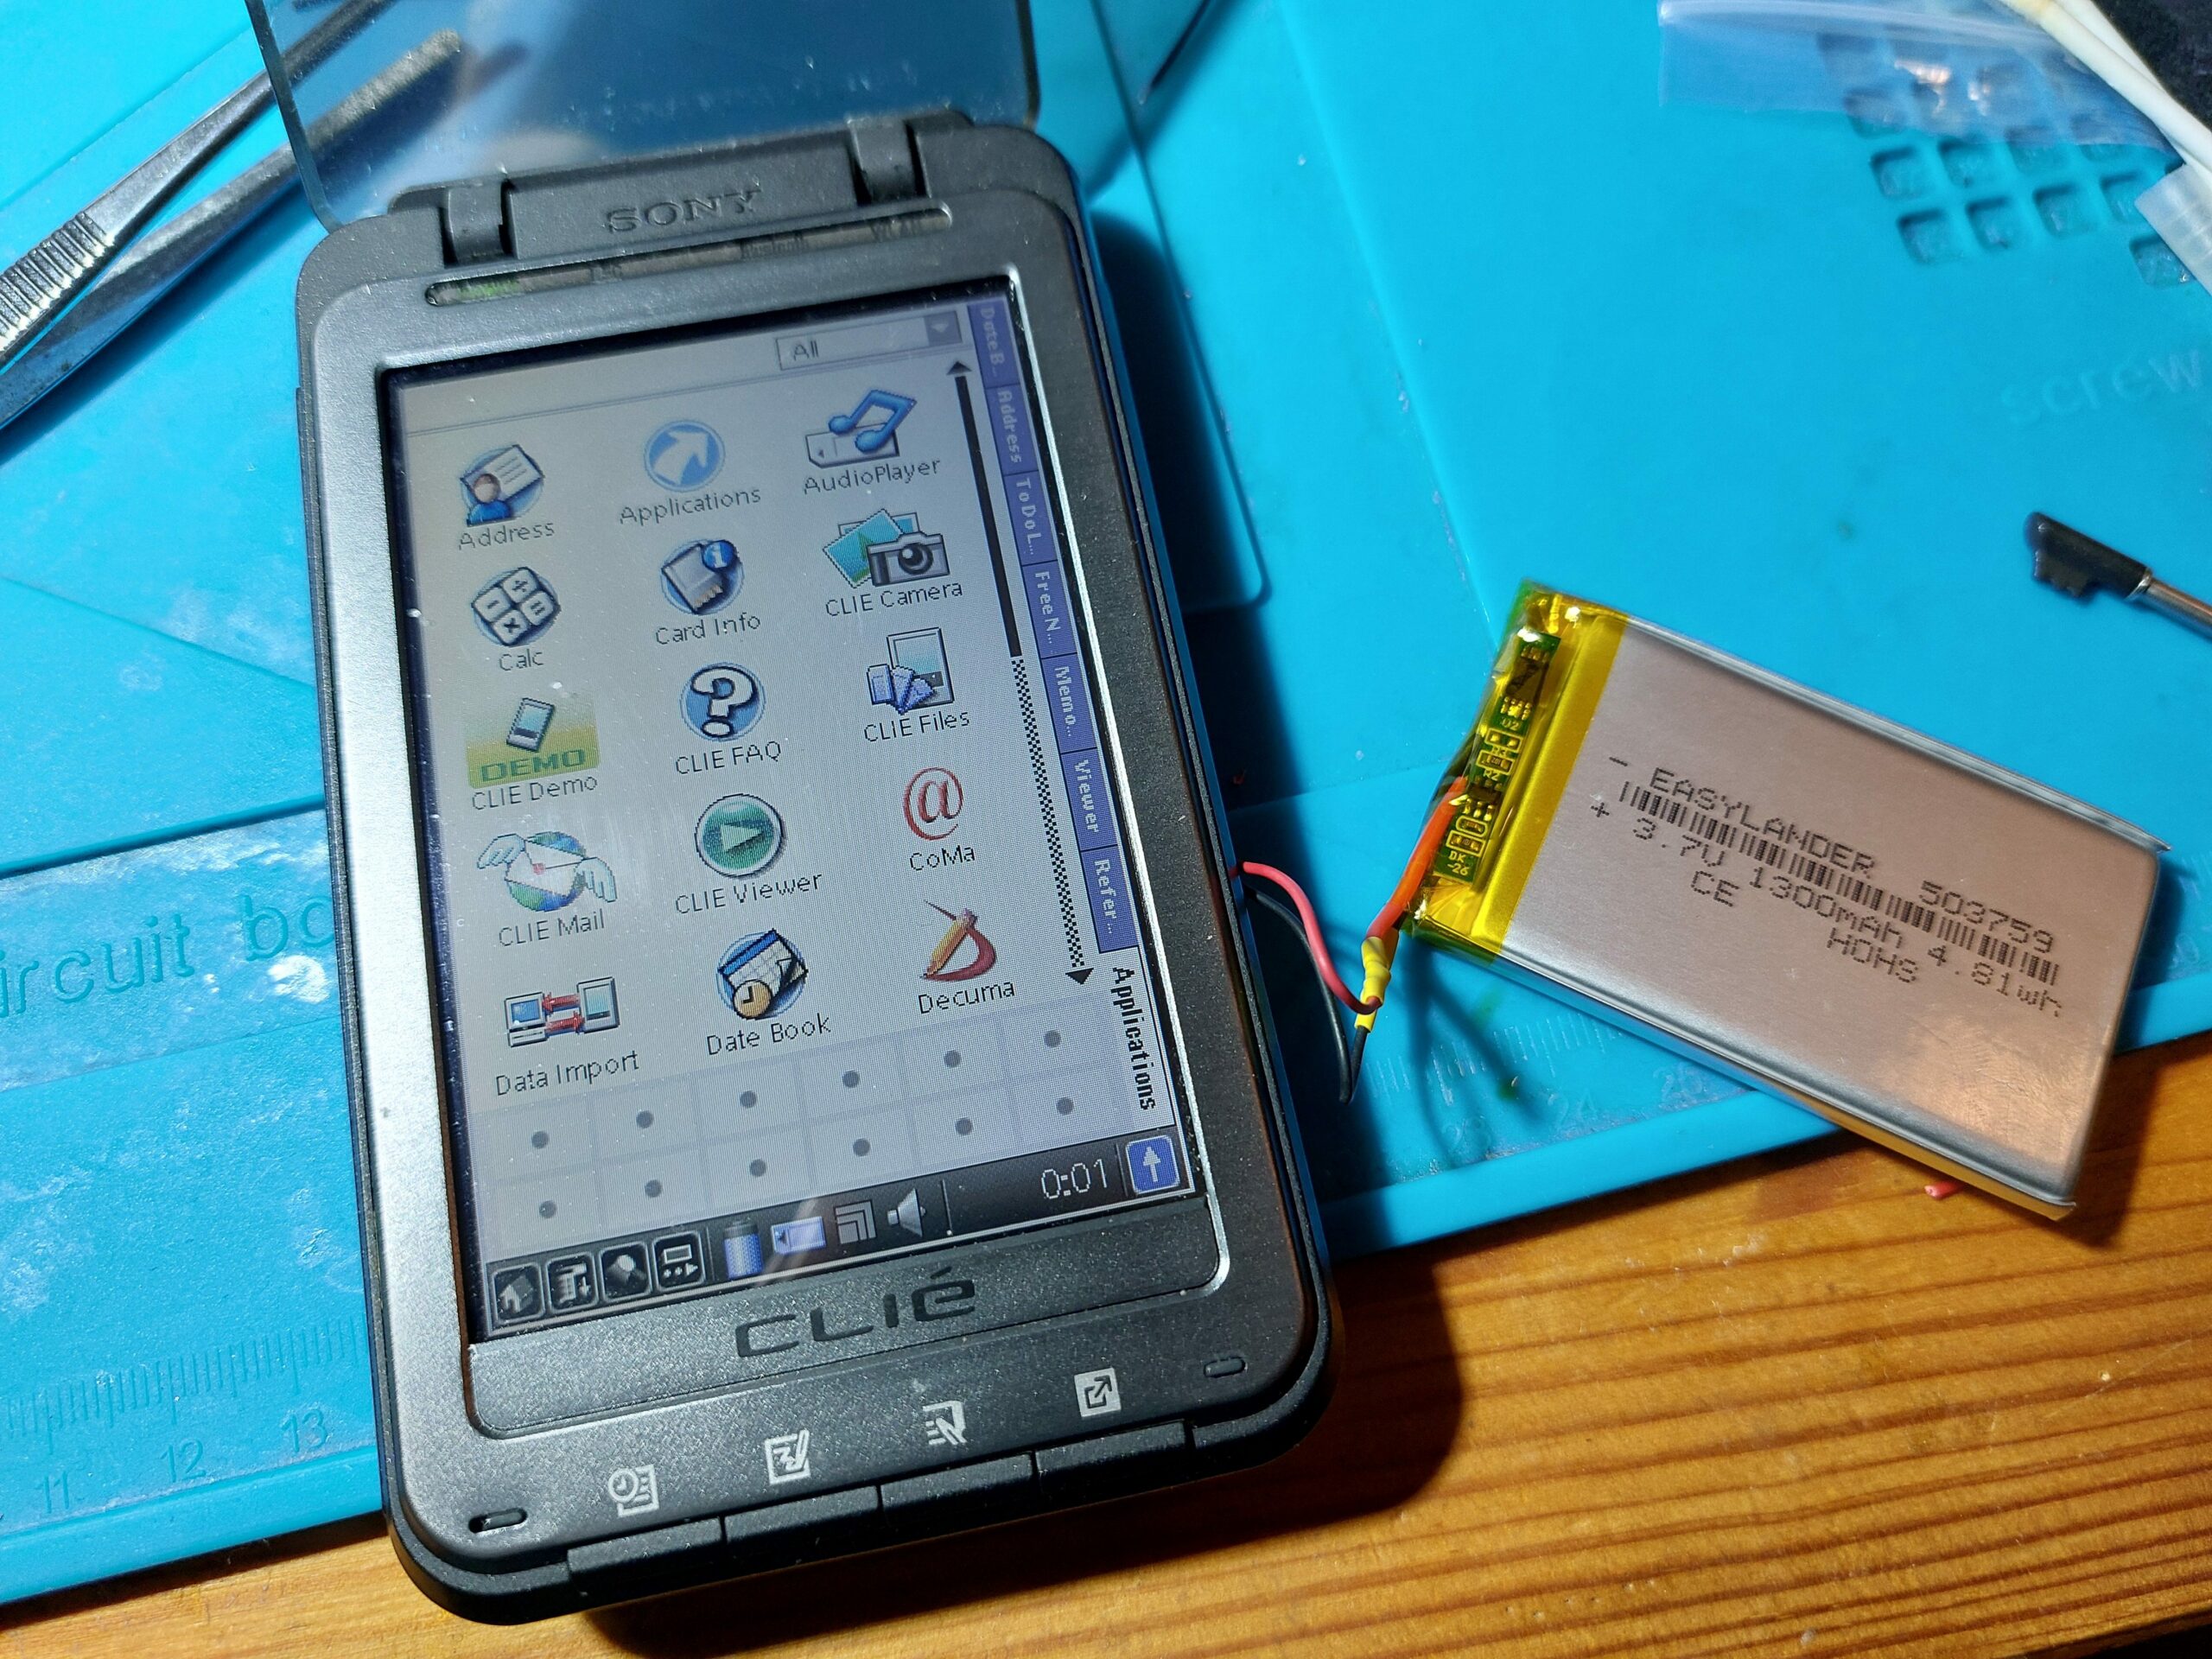
If you’re looking for a new battery for your TH55, the size you’re after is a 503759. These are available as 1300mAh batteries from AliExpress. I specifically got this one, if the listing is still available, making sure you pick the right option from the listing as it is for multiple sizes. They can be bought elsewhere as singles, but I bought 10 because I’ll need them eventually and they’re cheaper in bulk.
Perfectly Fitting Battery
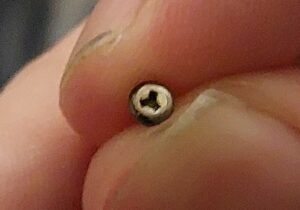
To get into the battery compartment you’ll need a tri-wing security bit (basically like a Philips bit, but with only three corners). I have a 2.0mm size one that works well.
Tri-wing Screw
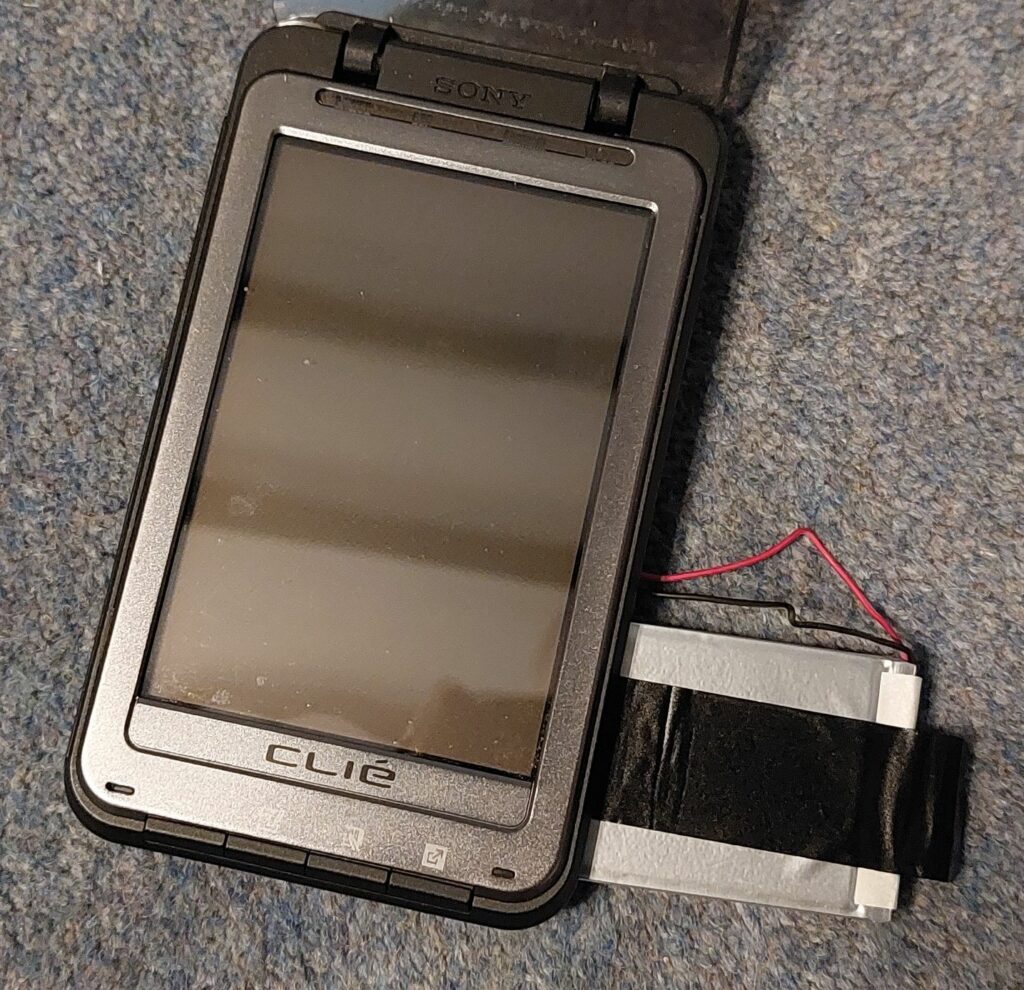
You’ll likely need to transfer the connector from the old battery to the new, which should be done by soldering, ideally replacing the cable where it is connected to the protection circuit board on the battery as the fit is tight. If you splice the cable, make sure you cover the joins with heatshrink (remember to put it on the wires before you solder them). Ensure the wires are at least 60mm long.
The Old Battery Being Removed
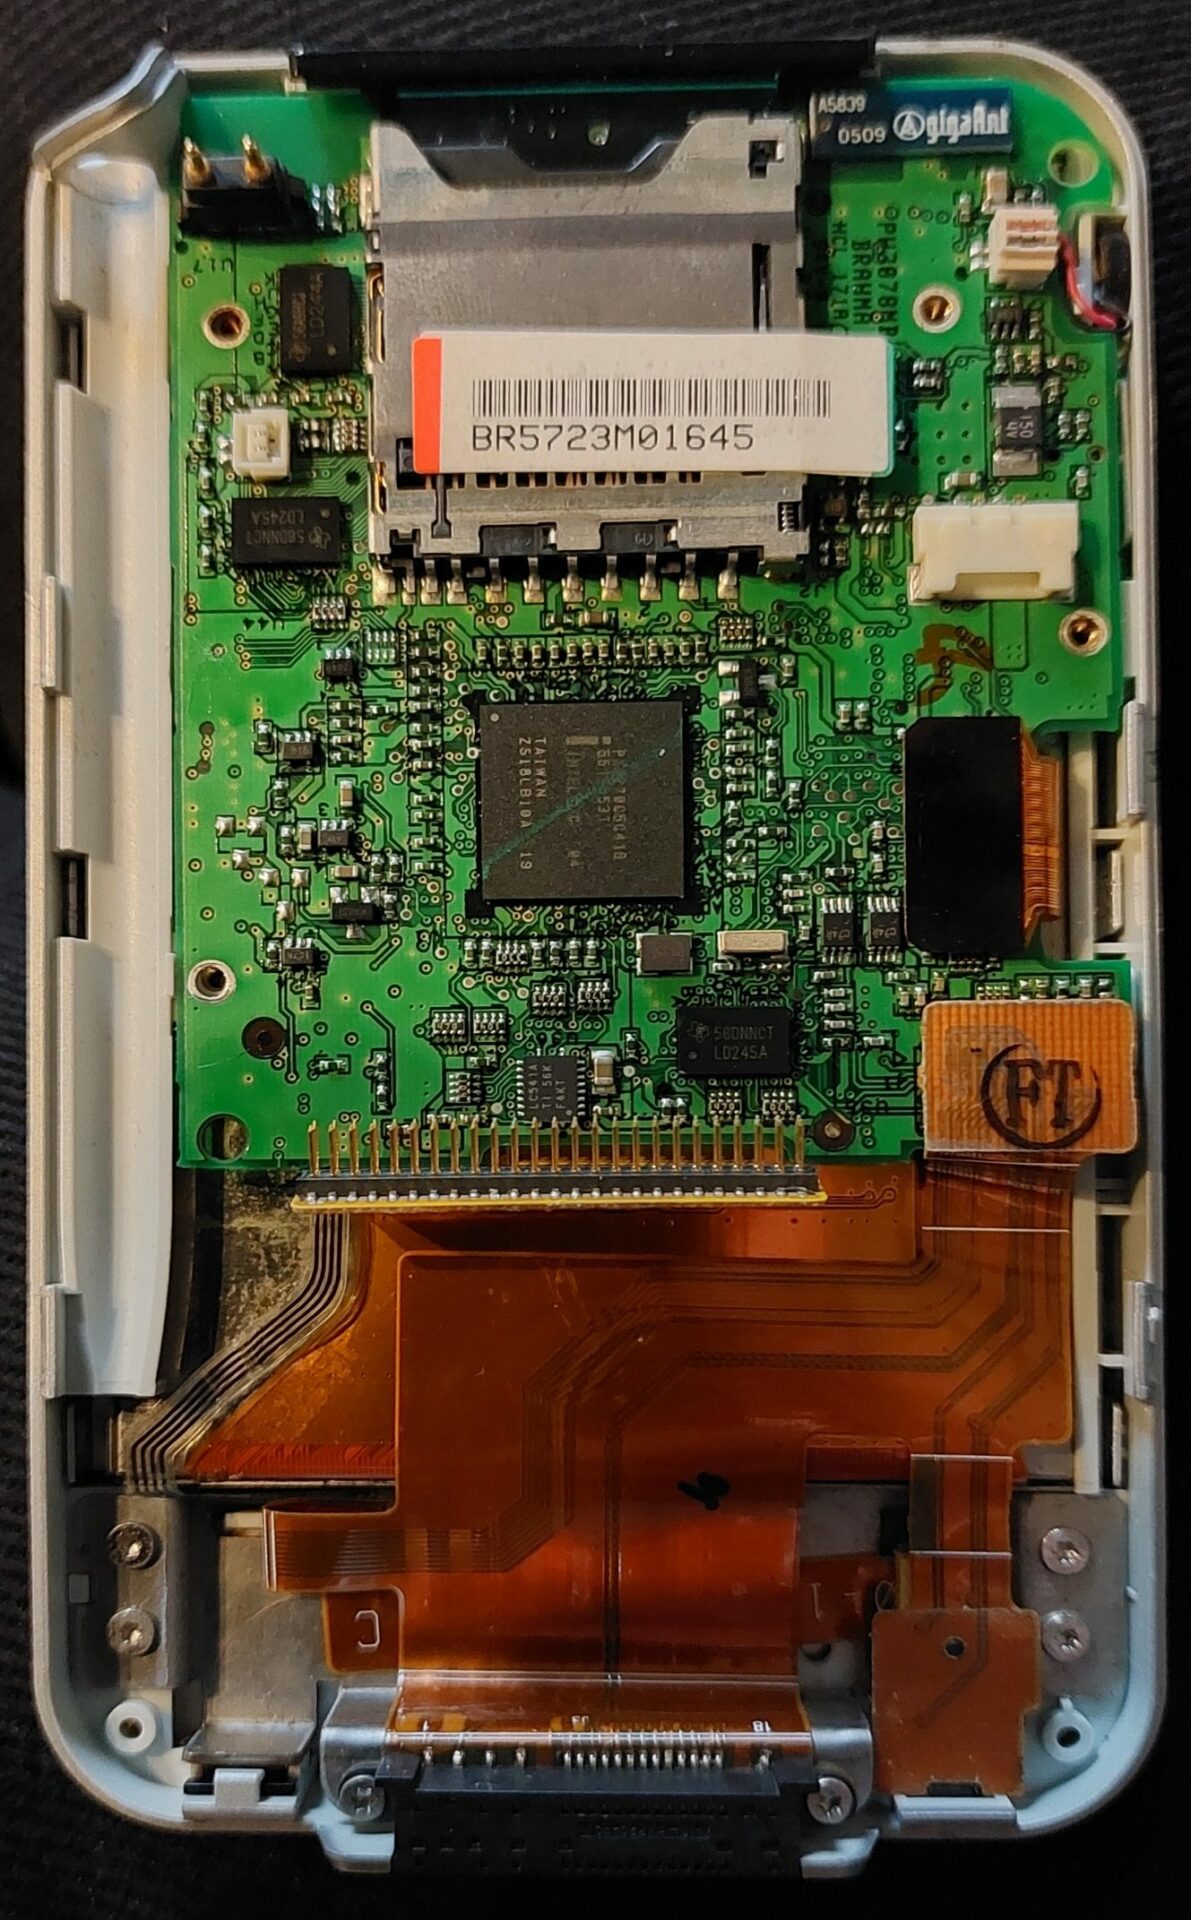
When fitting the new battery, they tend to catch on ribbon cables in the battery bay, so push a bit of thin paper, such as a receipt, into the opening between the rear case and ribbon cables so that it covers them, and then slide the battery in between the paper and rear case. Then pull the paper out.
Using a Receipt to Hold Ribbon Cables out of the Way
It is also advisable to loop some tape around the battery as a tab to pull it out as it is a tight fit.
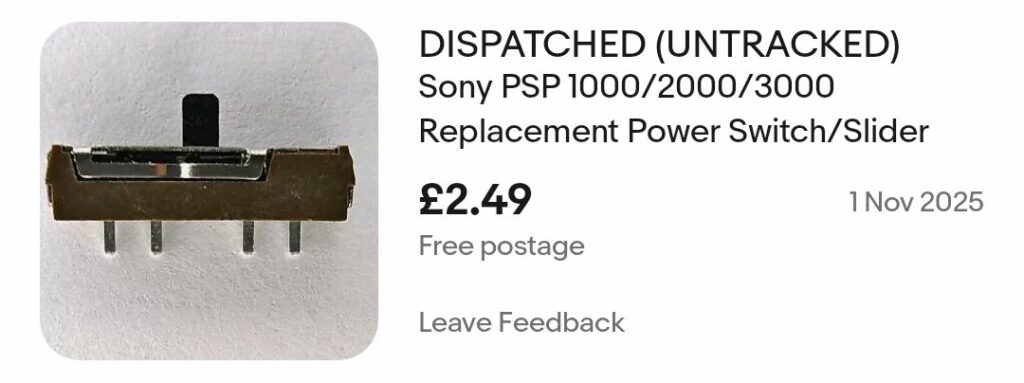
Recently I had to get a replacement power switch for a LifeDrive repair. A friend identified that the part number was JSM07011SAQNL, but we could only find fairly expensive parts for sale on the far side of the world. While rummaging around, I saw a picture of the power switch used on the Sony PSP (variously 1000, 2000 & 3000) and it looked suspiciously similar and I could get it on local eBay, for much less money. I decided to take the chance.
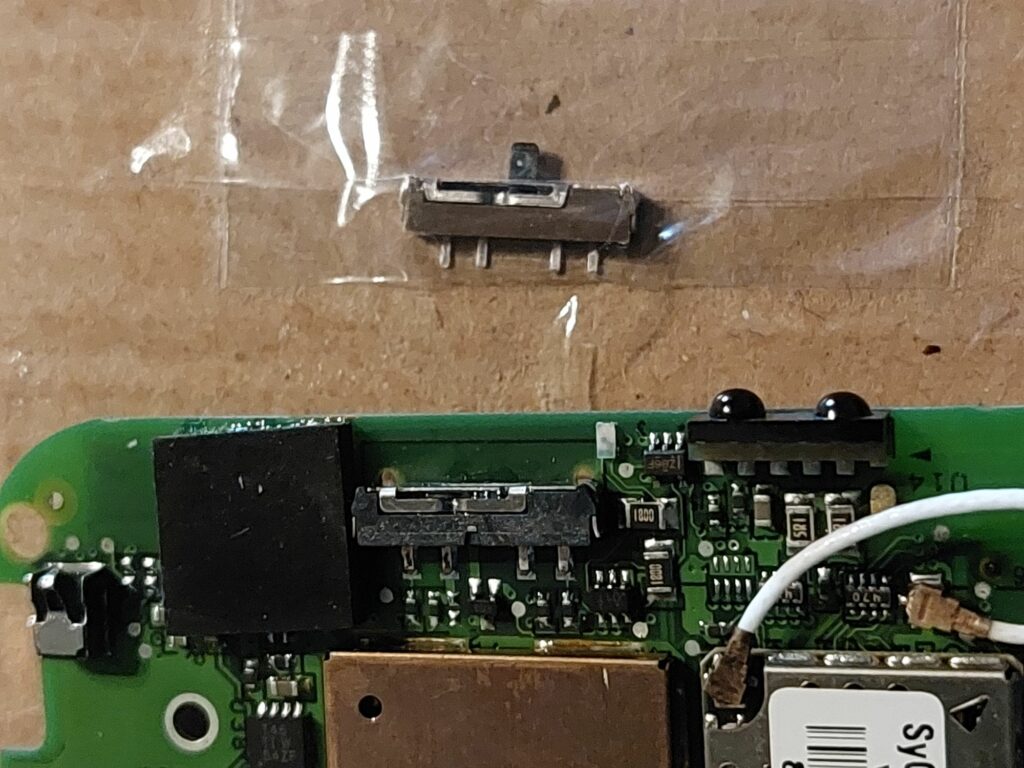
This post is basically to confirm that yes, the power switch is the same so if you need a replacement for your LifeDrive, you can source the part for the PSP, but also that the part number for the PSP item is JSM07011SAQNL.
eBay Listing for PSP Power Switch
Removing the existing part is tricky – I removed the foam pad next to the switch and then used 300°C hot air to desolder the existing part. Low temperature desoldering solder would be risky because of the proximity of other SMD parts, snipping off the pins would be tricky because they seem to go under the switch, and the 4 pins mean it isn’t easy to get heat to all of them at the same time with a normal iron. I thankfully didn’t have any issues taking care with hot air.
Old Switch and New Switch
Replacement Drive
While the palm drive was apart, I also fit a 16GB Compact Flash card (the failed microdrive had already been temporarily replaced with a 512MB CF card). Note that not all cards are compatible, generally you have better luck with older or “Industrial” cards. I have two 8GB cards that will not work in older machines. Before fitting, you need to flash a baseline disk image to the card, which can be found here at palmdb.net. Note the instructions to run the following command line instructions to write the two images to the disk (written for Linux / Unix). Take care to make sure you replace the drive in the example with the one you need! The following need to be run from the directory the two image files are in…
If you do not understand the above, seek out guidance on using the Linux command line tool “dd”. If possible from a real human who will explain the risks and difficulties and make sure you don’t accidentally overwrite your main hard disk instead.
Case Screw
This LifeDrive is missing a screw (one of two outermost screws). Careful measurement suggests it is a torx M1.5x10mm screw. These are… Non-standard as M1.5 isn’t really a thing. I ended up fitting an M1.6x10mm screw and it works well. The part I ordered is a conventional Philips head screw, I’ll likely replace both for the look of the thing.
Batteries
I haven’t replaced the batteries in this LifeDrive because it seems to hold a reasonable charge, but for reference, it uses two standard lithium cells. If you replace them, you’ll need to save the connector from the existing pack as it has four wires, two for each cell, although they are apparently wired in parallel so you can use one big cell if you want. Ensure that your replacement batteries have a BMS integrated.
Sorry, but I forgot to measure the dimensions before reassembly. They looked to be approximately 30x45x8 combined together? This is from day old memory and shouldn’t be used for purchasing parts. Measure what you have.
Reassembly Warnings
Note when putting the Life drive back together there are a couple of gottchas. Firstly, when putting the main board back in the housing, switch the power switch into the latched position, and then use a finger to hold the sliding element on the case side over on the same side, otherwise it drifts around and can, cough, be damaged.
Secondly, the speaker connector is a little bit of a faff to reach to plug in. I suggest doing this before the battery power if possible, and using tweezers in through the opening in the back chassis.