Mac OS on 68k QEMU
UPDATE 31st July 2024 – This post has been updated to reflect more recent versions of QEMU m68k as I was notified that the instructions I had followed were out of date. The 68k specific patches have more recently been integrated into the main build and so it is no longer necessary to use the q800.upstream branch I originally used.
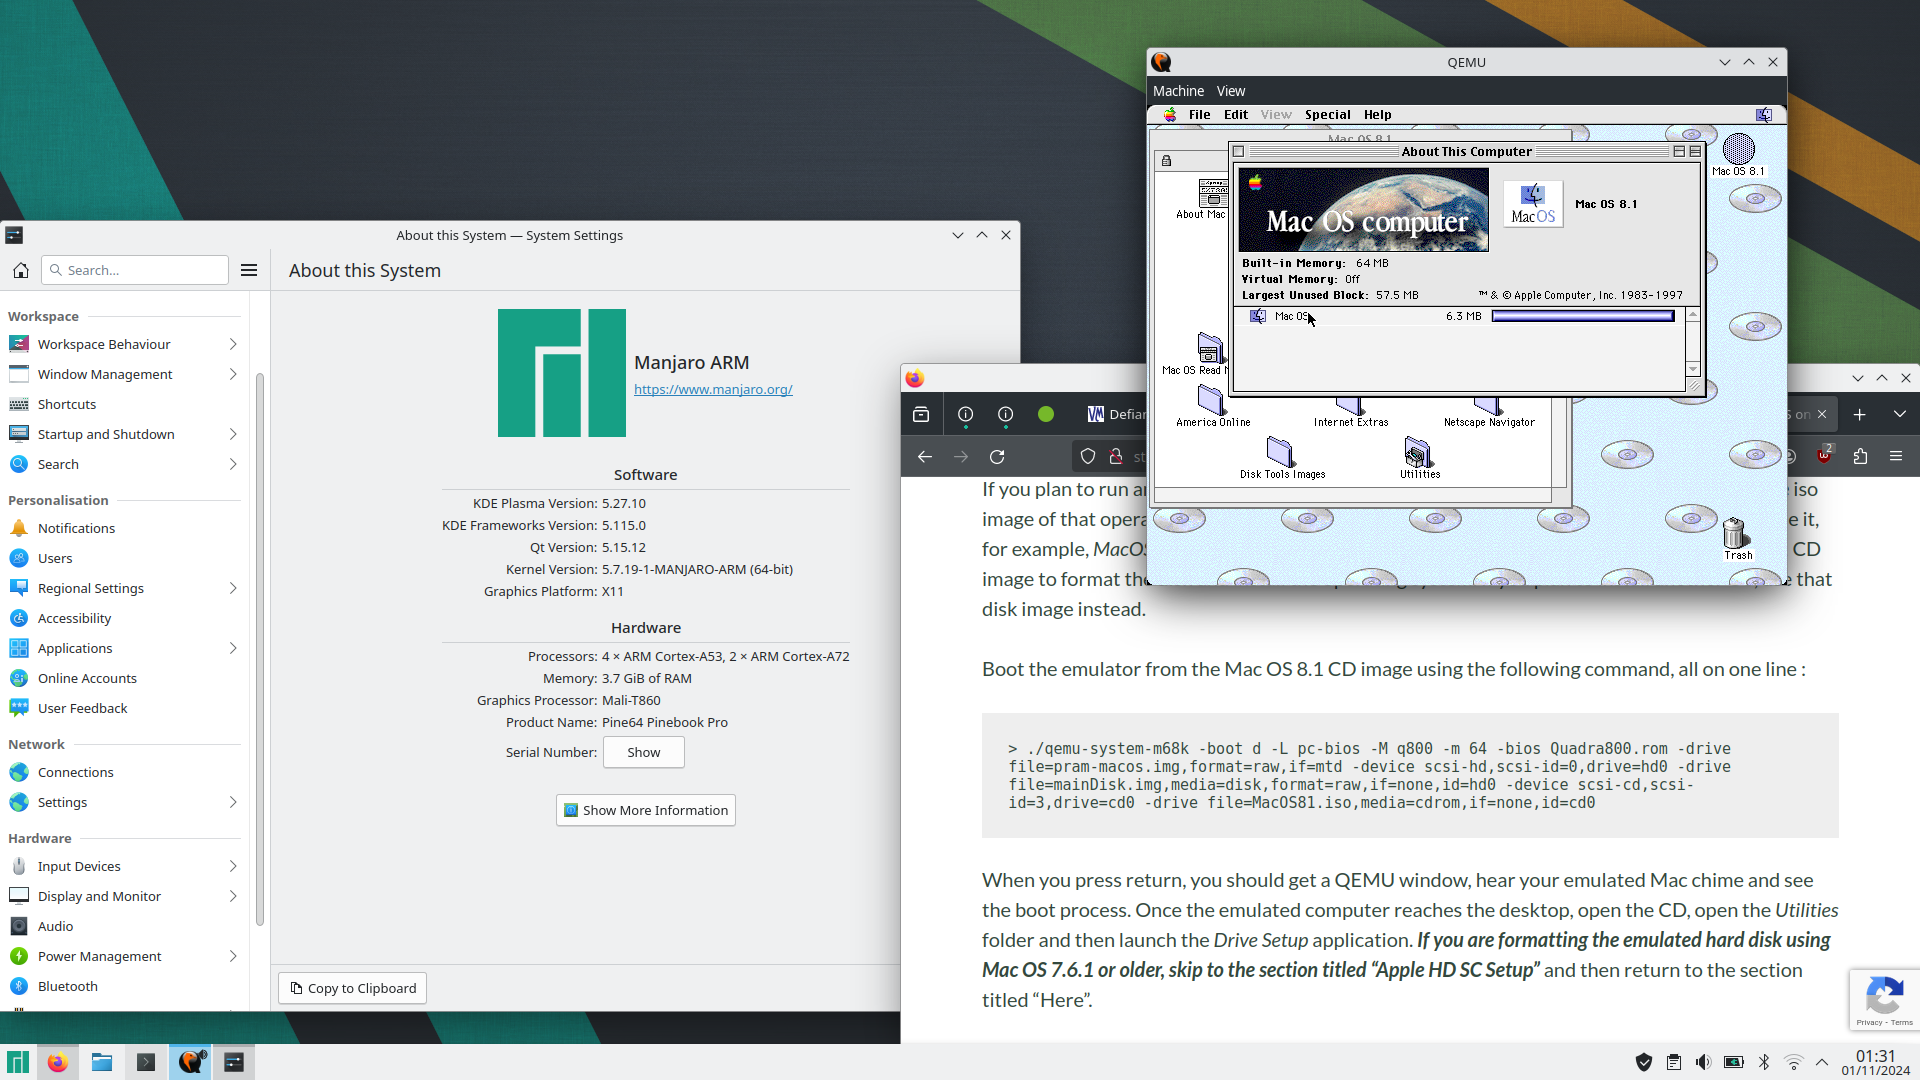
UPDATE 1st November 2024 – Last night I was able to build and run 68k QEMU on an 64bit ARM based PineBook Pro running Manjaro Linux. Manjaro uses yum instead of apt, so grabbing software was different, but all I needed to do was update installed software, then I installed the repository’s copy of qemu-system-m68k (a lazy way of getting most dependencies), then I had to install the build environment ninja. After that, everything worked exactly as described below, although compiling took quite a while. I haven’t benchmarked the system, but it feels like it runs pretty well. Mac OS 8 didn’t take too long to install. Given this, I would expect this software to be happy compiling on other ARM based Linux PCs and SBCs, such as the Raspberry Pi.
Introduction
I recently installed the 68k version of QEMU on Linux (Pop! OS) and struggled to find detailed step-by-step instructions by googling, so thought I’d upload some notes to help others. I suspect that part of what tripped me up is that previously, it was necessary to build from a branch and not the central source, which led me down the wrong path to to get the m68k variant of QEMU to build, but in truth building the main branch source now gets you to a working emulator (although not the copy in the Debian software repository). This is slightly muddied by the out of date threads that are returned as the primary results when you search for instructions on building QEMU for 68k on Linux.
Building m68k QEMU
My primary source for building qemu-system-m68k for Linux was here but ultimately I needed some guidance from a contributor to the project who saw my post and got in touch to point me in the right direction. I’m very appreciative of the time they took to help me on my way. This assumes you plan to run Classic Mac OS (between 7.1 and 8.1), and not AUX or anything more exotic.
Navigate to your home folder

> sudo apt update
> sudo apt-get build-dep qemu-system-misc ninja
> git clone https://gitlab.com/qemu-project/qemu.git
> cd qemu
> ./configure --target-list=m68k-softmmu --enable-gtk --enable-sdl --enable-slirp
> make -j4
I then copied the executables qemu-system-m68k and qemu-img from the build folder, into the folder I wanted to run them from.
Creating / Getting the Required Files
To run, you will need to generate two disk images, and a copy of the Quadra 800 ROM. Place the ROM in the same folder as the executables, and name it Quadra800.rom. I next used some of the instructions from here to work out how to generate the needed image files as follows. Run these two commands in the location you placed qemu-system-m68k and qemu-img previously.
> qemu-img create -f raw -o size=1G mainDisk.img
> qemu-img create -f raw pram-macos.img 256b
On the first line, change “1G” to other values to change the image size from this example of 1 gigabyte.
Launching the Emulator for the First Time
The emulator “captures” the mouse (and keyboard) once you click in the window. To free the mouse, press Ctrl+Alt+g.
To initially format the disk image, you can use Drive Setup (Mac OS 8.x) or Apple HD SC Setup (7.6.1 and older) while booted from the OS installer CD. It is critical that the CD iso image you use has been properly created and includes the driver partitions and is bootable, otherwise you will just get a flashing question mark on a floppy disk icon. If you do not already have an image, you can grab one from the Macintosh Garden here (which is a direct link to download #6 (at time of writing) on this page), or from my own site here.
Rename the iso image as MacOS81.iso and place it in the same folder as qemu-system-m68k and qemu-img.
If you plan to run another version of Mac OS on the emulated computer, download a bootable iso image of that operating system, for example Mac OS 7.6.1, place it in the same folder and name it, for example, MacOS761.iso. In the following instructions I will assume that you are using a, 8.1 CD image to format the disk and install the operating system. If you plan to install another OS, use that disk image instead.
Boot the emulator from the Mac OS 8.1 CD image using the following command, all on one line :
> ./qemu-system-m68k -boot d -L pc-bios -M q800 -m 64 -bios Quadra800.rom -drive file=pram-macos.img,format=raw,if=mtd -device scsi-hd,scsi-id=0,drive=hd0 -drive file=mainDisk.img,media=disk,format=raw,if=none,id=hd0 -device scsi-cd,scsi-id=3,drive=cd0 -drive file=MacOS81.iso,media=cdrom,if=none,id=cd0When you press return, you should get a QEMU window, hear your emulated Mac chime and see the boot process. Once the emulated computer reaches the desktop, open the CD, open the Utilities folder and then launch the Drive Setup application. If you are formatting the emulated hard disk using Mac OS 7.6.1 or older, skip to the section titled “Apple HD SC Setup” and then return to the section titled “Here”.
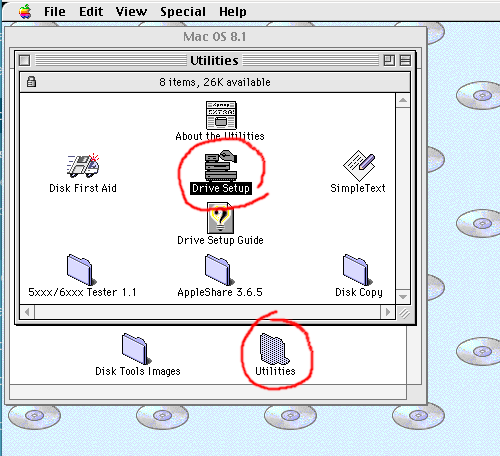
In Drive Setup, select the unformatted hard disk from the list, click the Initialize button, and then in the Initialize dialog box, click the Custom Setup… button, select “1 Partition” from the Partitioning Scheme popup menu, ensure the other popup menu says “Mac OS Standard” and not “Mac OS Extended” (if you plan to use the hard disk image with Mac OS 7.x), click OK, and lastly click Initialize. Once this is done, you can quit out of Drive Setup, and rename the hard disk you just formatted if you haven’t already. “Macintosh HD” is traditional. Once you’re done, you can install your operating system.
Here
To install an OS, navigate to the desktop. If you have just booted you will be there by default, otherwise if you are following these instructions and have just formatted your “hard disk” you may need to quit out of the formatting utility and close some Finder windows. Once you get to the desktop, open the CD and run the main installer application. Follow on-screen instructions to complete the install. If you’re unfamiliar with the process, the default settings should be just fine. Selecting Restart (if offered in a dialog box, or from the Special menu at the desktop) should bring you back up in your installed copy of Mac OS.
You can shutdown the emulated computer by selecting Shutdown from the Special menu while at the desktop.
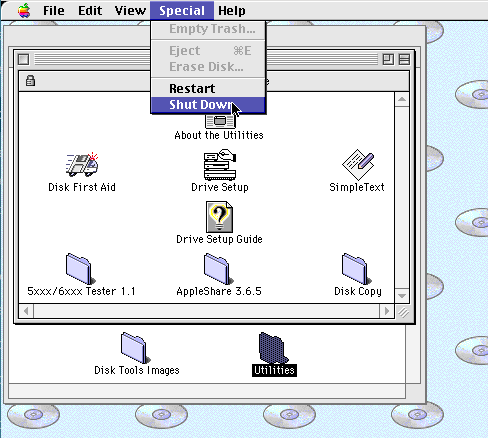
If you wish to start QEMU again, but from a different CD image, for example a Mac OS 7.6.1 iso image we downloaded and called MacOS761.iso, enter and execute the following command, which is identical to the previous command, except the CD Image filename has been updated.
> ./qemu-system-m68k -boot d -L pc-bios -M q800 -m 64 -bios Quadra800.rom -drive file=pram-macos.img,format=raw,if=mtd -device scsi-hd,scsi-id=0,drive=hd0 -drive file=mainDisk.img,media=disk,format=raw,if=none,id=hd0 -device scsi-cd,scsi-id=3,drive=cd0 -drive file=MacOS761.iso,media=cdrom,if=none,id=cd0Once you’re done, Shutdown and we’ll set up a simpler (less typing intensive) way of launching the emulator, as well as consider a couple of helpful customisations.
Create and edit a new bash script in the folder with qemu-syetem-m68k…
> touch launch68k.sh
> chmod +x launch68k.sh
> nano launch68k.sh
Paste (right-click, paste) in the following into the file you should have open for editing :
./qemu-system-m68k -boot d -L pc-bios -M q800 -m 64 -g 1152x870x8 \
    -bios Quadra800.rom \
    -drive file=pram-macos.img,format=raw,if=mtd \
    -device scsi-hd,scsi-id=0,drive=hd0 \
    -drive file=sharedharddisk.img,media=disk,format=raw,if=none,id=hd2 \
    -device scsi-cd,scsi-id=3,drive=cd0 \
    -drive file=/dev/cdrom,media=cdrom,if=none,id=cd0
On the first line “-g 1152x870x8″ sets the display to 1152 by 870 pixels (Apple’s 21” monitor resolution) at 256 colours (8bit). If you want to run the display at 640 by 480, or 800 by 600 at 24bit colour, delete the “-g 1152x870x8” text (move the cursor with the cursor keys in nano. The default display mode allows you to switch between 640×480 and 800×600 from the Monitors control panel within the emulated computer.
If your host computer has an optical drive, the last two lines set up the emulator to directly access disks put in that drive. If you do not have an optical drive, you may need to delete these last two lines.
Press Ctrl-x and when prompted, press “y” to exit and save changes.
Now, when you want to launch the emulator, you can run the bash script launch68k.sh, for example by navigating in the terminal to the folder, and then typing ./launch68k.sh.
Apple HD SC Setup
If you format the emulated hard disk using a Mac OS 7.6.1 or older version of System 7, you will need to use the formatting utility Apple HD SC Setup. This is because older versions of Drive Setup were exclusively for PowerPCs and / or formatting IDE hard disks (and we’re emulating a SCSI disk). While the process is pretty simple, an quirk I noticed while setting up my emulator was that Apple HD SC Setup only created a very small data partition on the emulated hard disk. This is simple to fix though.
Step 1
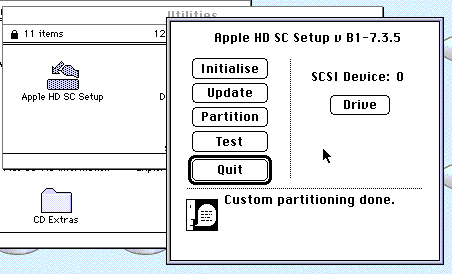
Launch Apple HD SC Setup, likely in the Utilities folder on the top level of the CD you have booted from. Select the SCSI ID of the emulated hard disk you want to format by clicking the Drive button, you most likely want “SCSI Device: 0”. Do not get this wrong or you could erase the data on whatever hard disk image you have mounted in your emulator.
Step 2
Click the Initialize button and wait. This takes quite a while.
Step 3
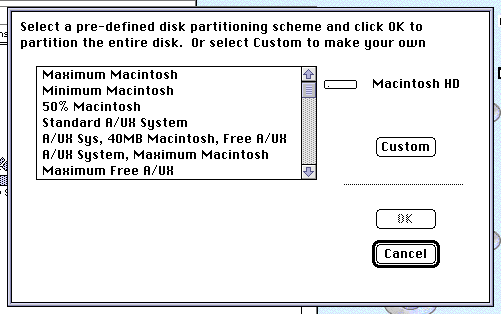
Click the Partition button, then click on the Customize button if available.
Step 4
If the disk utilisation graphic shows partitions taking up most of the disk, you’re good to quit out of the utility, but if like me, the data partition is only using a small portion of the disk and the remainder is grey half tone, select the partition and click remove.
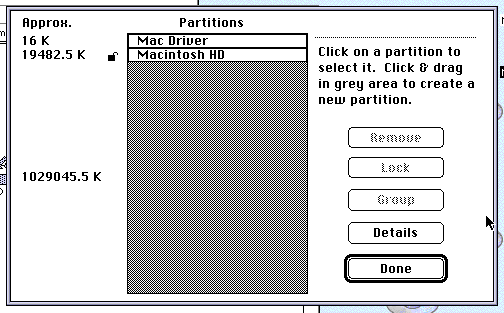
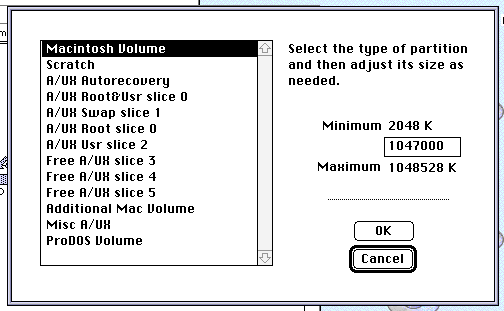
Click towards the bottom of the grey area. In the dialog box that appears, select the option “Mac Volume” on the left, and then in the text field on the right hand side, enter a value (in K) that is about 1000 less than the maximum value quoted below the text field. Click OK once you’re happy. You should now have a small amount of grey between the disk driver and the data partition. Click Done.
Step 5
Quit Apple HD SC Setup and return to the heading “Hear” above, to install the operating system.
Getting Software onto the Emulator
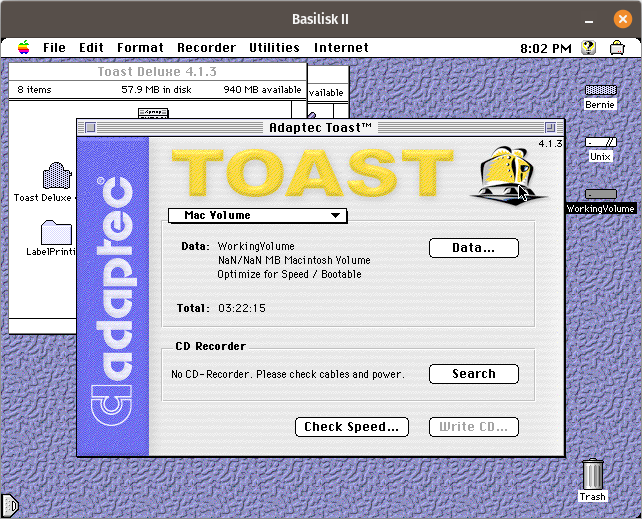
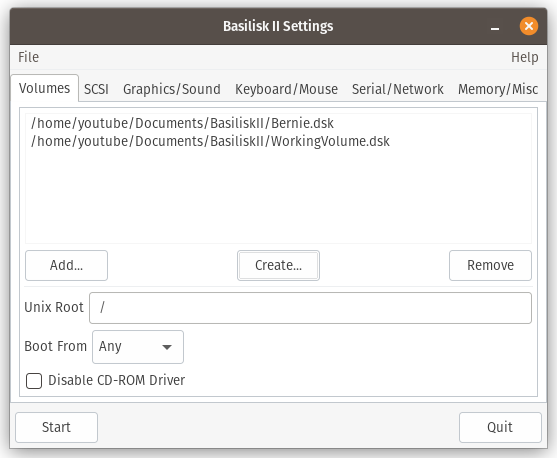
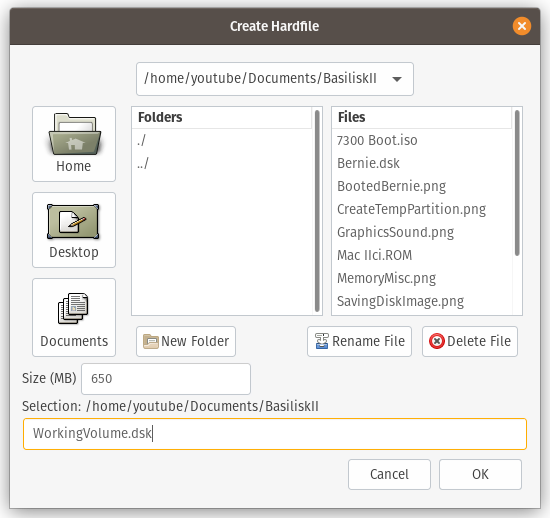
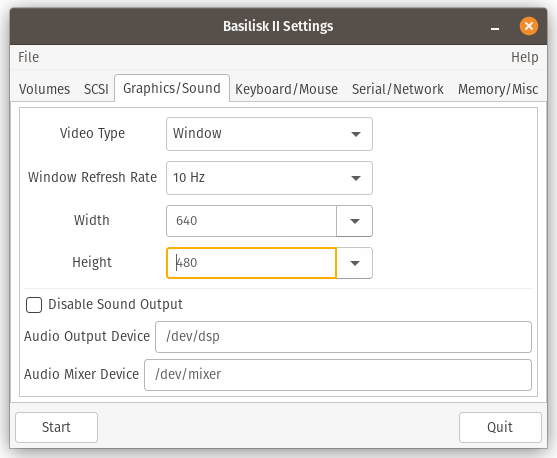
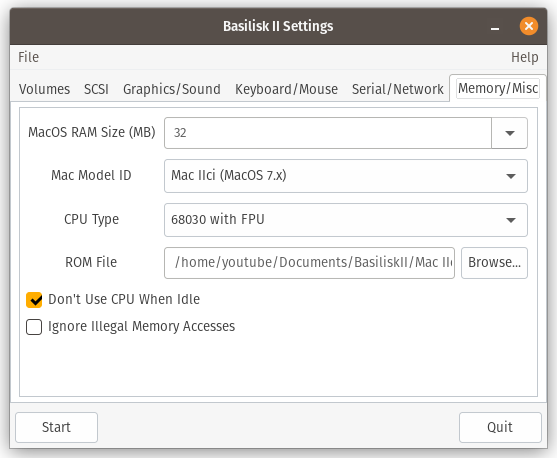
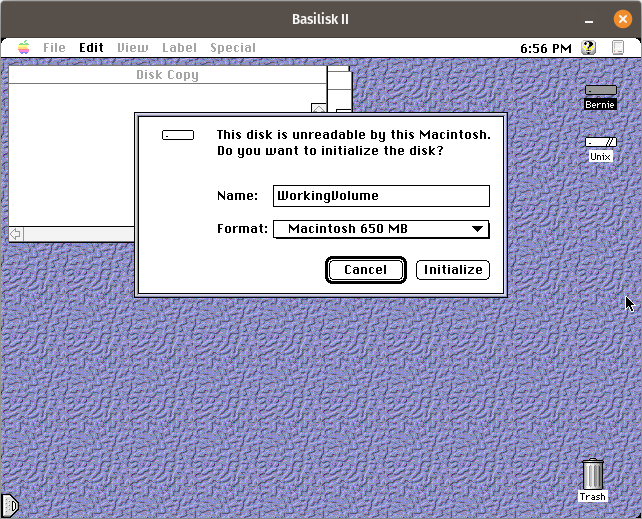
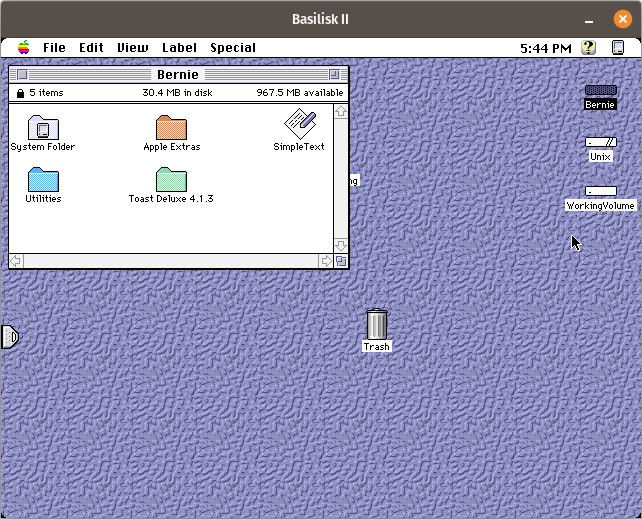
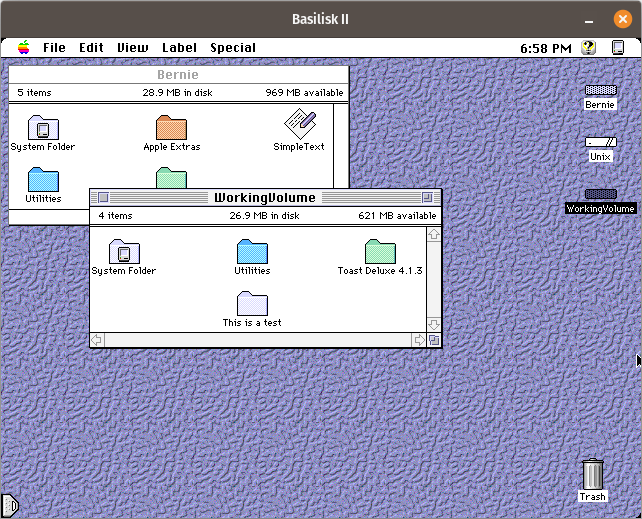
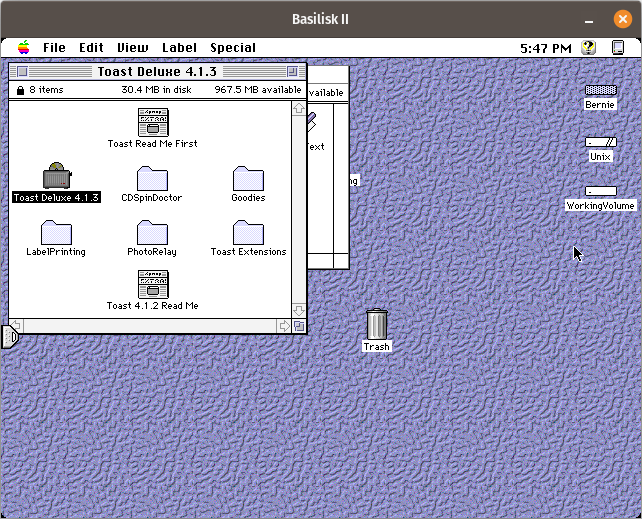
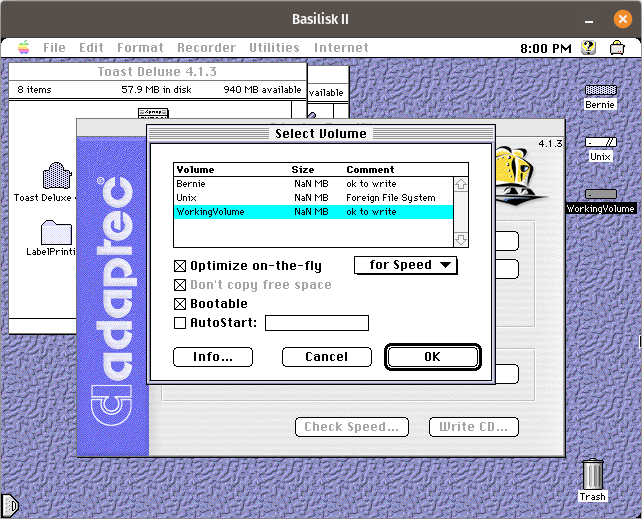
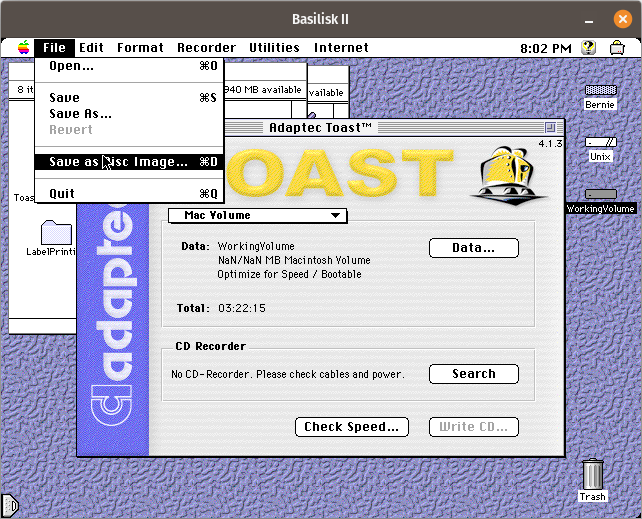
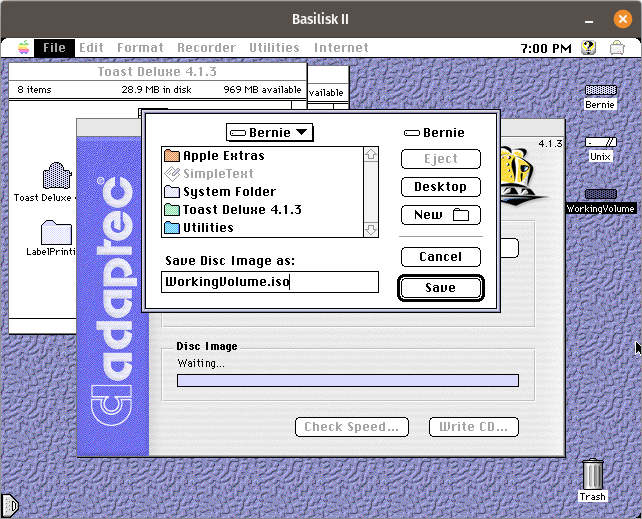
At this point, if you have an optical drive, you should be able to install any software you own on original CDs. This only gets you so far though. I’ve actually been moving files onto the disk image using another emulator. Basilisk II allows access to the host file system and while QEMU isn’t compatible with my Basilisk II disk images, the QEMU image works fine in Basilisk II. Other emulators might also work in this fashion, such as the Infinite Mac website, SheepShaver and others.
Make sure you don’t accidentally launch both emulators at the same time or you will possibly cause issues and corruption.
Limiting Processor Usage
On my fairly elderly laptop, when I run QEMU it consumes 100% of two cores (from the OSes perspective, as hyperthreading is on this isn’t strictly correct). This is enough to either cause the fan to ramp up to an annoying level, or if I am running from the battery, significantly reduce battery life.
The truth is, I don’t actually offer all of the speed this offers me, so I decided to look into how I might best throttle the performance of m68k QEMU to reduce the CPU time it consumes at the cost of emulator performance. Ultimately, I settled on using the program cputool which I had to install, but was available from the Debian repositories so a simple apt get install cputool sorted that.
This solution isn’t perfect as it makes the emulated graphics redraw stuttery, but it is OK if you’re mainly typing and not playing games or drawing.
After installing cputool, I was able to make a new script to launch QEMU, that just called my existing script. What I ended up with was a bash script containing…
cputool -c 50 -- ./startqemu.shWhere “startqemu.sh” was my existing start script, “50” is the percent of each core’s total time I’m allowing. QEMU m68k uses two threads, so with this setup, I see the total CPU usage by the emulator halved and visible as 50% usage on two cores.
The above method should probably work with other emulators that consume all of an available core or core’s resources regardless of whether it is needed or not.
Advantages and Disadvantages
I’m pretty pleased with this emulator, with the only slight disadvantages I’ve seen so far (since installing an up to date version) are that it runs slower than some other emulators, it is harder to install and transferring files between the host and emulator isn’t as trivial as in emulators that mount the host file system on the desktop by default. This plays off against much better stability and compatibility when compared to Basilisk II for example, which I have been mainly using lately. One big compatibility improvement is sound. For example, SoundEdit 16 was not usable on Basilisk II due to constant crashes.
The driving factor for me trying QEMU was a bug that manifests in Basilisk II when writing software in REALbasic – if I convert an integer into a string in my REALbasic program, I get an incorrect result. This does not happen on real hardware such as my Centris 650 or my PowerBook G3, and also does not happen in QEMU.
Further Work
At this point, I should probably look into better ways of transferring files into the emulator. I believe that network filesharing, either using netatalk or possibly FTP, would be a fairly simple thing to setup. I’ve not looked into mounting the host system within the emulated Mac, I’m told this is possible, and will add instructions here when I look into it.
Obsolete Comments
This post was originally made with respect to an older, unofficial, build of QEMU with which I had a number of issues. I’ve moved the old list of issues here so that if someone is searching for terms they contain, they will still find this guide.
Issues (some minor) I experienced with the development branch and thread detailing how to build on Linux…
- Build instructions don’t mention all dependencies.
- Could not run configure due to permission issues if you try in a location outside your home folder, specifically on a secondary partition in my instance (I haven’t tried this again with the latest source).
- The emulator is debouncing double clicks on my computer so they only count as a single click. It is not possible to double click in the normal manner. -fixed-
- Disk image compatibility is very picky and the emulator does not seem to work with existing disk images.
- After generating a disk image using QEMU’s own tool, it will not format, or even show on the emulated SCSI bus in Mac OS until you format it in Mac OS 8.1. -fixed-
- The man pages are exclusively about x86 PCs even when called in relation to the m68k executable.
- Resolution support is limited, more limited than real hardware.
- The SDL mode does not work on my computer and just results in a blank screen.
- Installing from the Debian repositories results in a non-working executable.
The most frustrating of these issues have been entirely fixed in the newer version of qemu-system-m68k, although some of the minor issues are still present (and others I haven’t re-checked for at this point). I have marked items I’ve tested and found solved as “-fixed-“.